To sell REAPER templates, decide whether the buyer needs a complete project, a reusable track setup or a demonstration session with audio. Package the matching REAPER files, declare required effects and include any media you are allowed to distribute. Deliver the finished bundle as a ZIP with one clear opening instruction.
This guide is for engineers and producers selling their own recording or mixing workflow. Its release matrix helps prevent a common support problem: a buyer pays for a template but receives a session that depends on the seller's folders, plugins or audio hardware. The matrix is an original acceptance protocol, not a claim that we tested your project.
Choose the REAPER Template You Are Selling
A complete project and a track template solve different jobs. A project is useful when the buyer wants the whole session structure. A track template is useful when the buyer wants to insert a reusable track configuration into an existing session. A demonstration project includes media to explain how the setup sounds.
REAPER's current user guide documents project templates and track templates separately. It describes RPP project files and RTrackTemplate files, with separate commands for creating a project from a template and inserting tracks. In the English interface, project templates use File → Project Templates; track templates use Track → Save tracks as track template and Track → Insert track from template. Sends to tracks outside a track template are not saved, so include the receiving bus or explain how to reconnect it. Use the instructions for the version you actually checked; do not call every downloadable file a preset.
Describe one concrete outcome on the sales page: for example, a spoken-word recording session with separate host, guest and reference tracks. State the supported REAPER version, operating systems you tested, required plugins and whether audio examples are included. A DAW license and third-party plugins are separate purchases unless your offer explicitly includes a valid entitlement.
Someone looking for an Ableton Live project or an FL Studio project needs a different native opening procedure. Do not suggest that changing the filename extension converts your REAPER template into either format.
Separate the Empty Template From the Demonstration
Create a release copy outside your working session. Remove client recordings, unused takes and private notes. Keep an empty starting template separate from a media-bearing example so a new recording does not begin with someone else's voice or song already on the timeline.
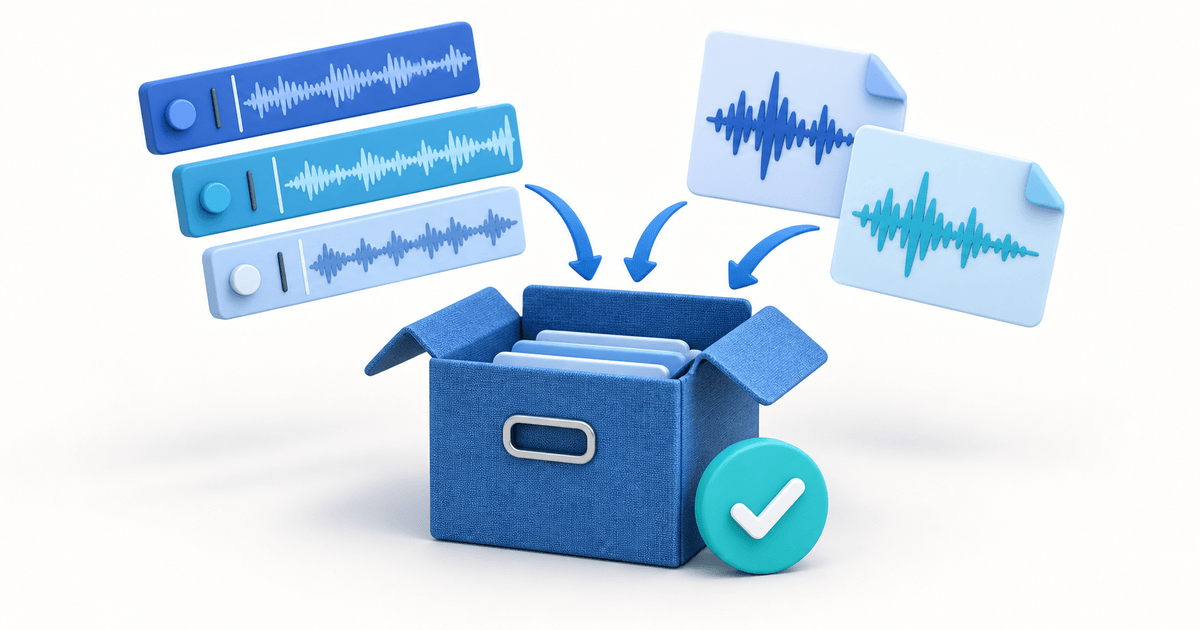
For a demonstration project, collect the permitted media into the project directory using REAPER's appropriate save options. Copy from your working materials rather than moving the only originals. Then inspect the release folder: a saved RPP file alone is not evidence that all referenced audio was included.
A plugin setting does not grant redistribution rights to the plugin or its sample library. List the required manufacturer, product, version and format, and explain what the buyer hears if it is missing. Where practical, supply an alternative using effects included with REAPER; only call it compatible after checking it.
Hardware routing is another hidden dependency. Document expected inputs and outputs, and tell the buyer how to assign their own interface before recording or monitoring. Your studio's input numbers should not become an unexplained prerequisite. Avoid claiming that a template automatically produces a finished mix for every recording.
Build a Three-Part Release Manifest
The following manifest is an example for a fictional spoken-word product. Replace the filenames and acceptance checks with your actual deliverables. Keeping each artifact's job explicit is more useful than delivering a large folder of unexplained revisions.
| Artifact | Buyer action | Release acceptance check |
|---|---|---|
| Empty project template, RPP | Create a fresh session using the supplied project-template instructions | Correct track structure; no private recordings or missing media |
| Optional track setup, RTrackTemplate | Insert it into a disposable existing session | Only intended tracks and routing appear; existing session remains understandable |
| Demo project folder with permitted WAV files | Extract the full folder and open its RPP | Included audio resolves from the extracted folder and plays as described |
| Readme and dependency list | Read before installation | Version, effects, hardware setup, license and support contact are explicit |
Name the ZIP with a product name and release version. Inside it, keep the empty template, optional track setup and example project in clearly named folders. Include a short change log when you issue an update, and state whether previous buyers receive updates under your offer.
Do not bundle backups, undo-history files or exports merely because they sit next to the project. They increase confusion and can contain material you did not intend to sell. Conversely, do not delete a file solely because you do not recognize it; check its role in the project before excluding it.
Test the Buyer's Opening Route
Extract the final ZIP into a new location that cannot rely on the original media folder. If possible, check it with a separate REAPER installation or another computer using only the dependencies you advertise. A successful reopen on your production machine can hide missing plugins and absolute paths.
Run the two installation paths separately. Start a new project from the project template, then insert the track template into a disposable session. Check routing, effect availability and expected silence or playback. For the demo, compare the included reference render with the documented playback result; describe meaningful differences instead of promising identical sound on every system.
Record the tested REAPER version, operating system, installed dependencies and result in your release notes. If you have tested only Windows, say so. Ask a buyer with a problem for the release version, error message and missing-file name, not their full private session.
A useful failure rule is simple: if the package requires you to email an undisclosed file or plugin after purchase, fix the release or disclose that dependency before taking payment. Support should help install the promised product, not reveal what the product really contains.
Deliver the ZIP Through PayRequest
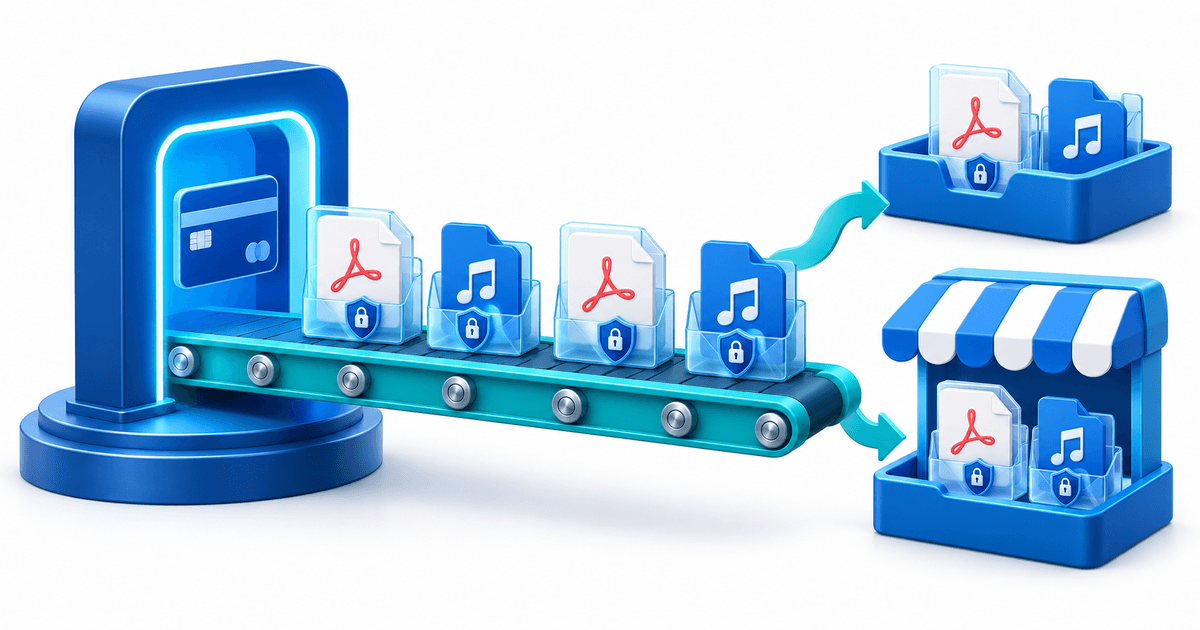
PayRequest digital products provide the selling and download workflow. The upload rules reviewed on 13 September 2026 accept ZIP archives; RPP and RTrackTemplate are not listed as standalone upload extensions. Package the native files inside a real ZIP and verify your actual upload before publishing the offer.
Use file delivery for the finished archive. The reviewed download controller distinguishes opening the download landing page from the action that streams the file and increments its counter. An email scanner opening a link is therefore different from the buyer downloading the archive. Download limits and expiry still need to match your support policy.
PayRequest delivers files; it does not install REAPER, resolve missing audio, grant plugin licenses or prevent a buyer from copying a downloaded project. Keep installation instructions and usage terms inside the archive so they remain available after download.
Prepare the manifest, run the acceptance checks and create your product through PayRequest digital products. Check current plans and pricing for digital-product access and applicable fees before choosing a plan.
Editorial note: AI assisted with the article and illustrative cover. Product behavior was checked in PayRequest code and REAPER documentation. No REAPER session or live purchase was executed; the manifest is an original protocol for sellers to run.