A payment page looks simple from the outside: amount, description, pay button. In practice, that small page carries a lot of trust. It has to prove the customer is in the right place, explain exactly what they are paying for, support the payment method they prefer, and remove enough friction that they finish the payment now instead of saving it for later.
This guide walks through how to build a payment page that works for invoices, deposits, services, digital products, bookings, donations, and one-off payment requests. The focus is practical: what the page needs, what to avoid, and how to publish a payment page even if you do not have a website or developer. For a deeper look at logos, colors, payment methods and page modes, use the custom payment page guide.
Key Takeaways
- A payment page is the checkout screen customers see after opening a payment link
- The best payment pages combine clear payment details, brand trust, multiple payment methods, and a simple mobile layout
- You can build a payment page without code by using a hosted tool like PayRequest Payment Page
- A good payment page should answer three questions quickly: who am I paying, what am I paying for, and is this safe?
- Payment pages work for invoices, payment requests, deposits, tips, bookings, subscriptions, and product sales
- The page should be short enough to complete fast, but specific enough that the customer never has to guess
What Is a Payment Page?
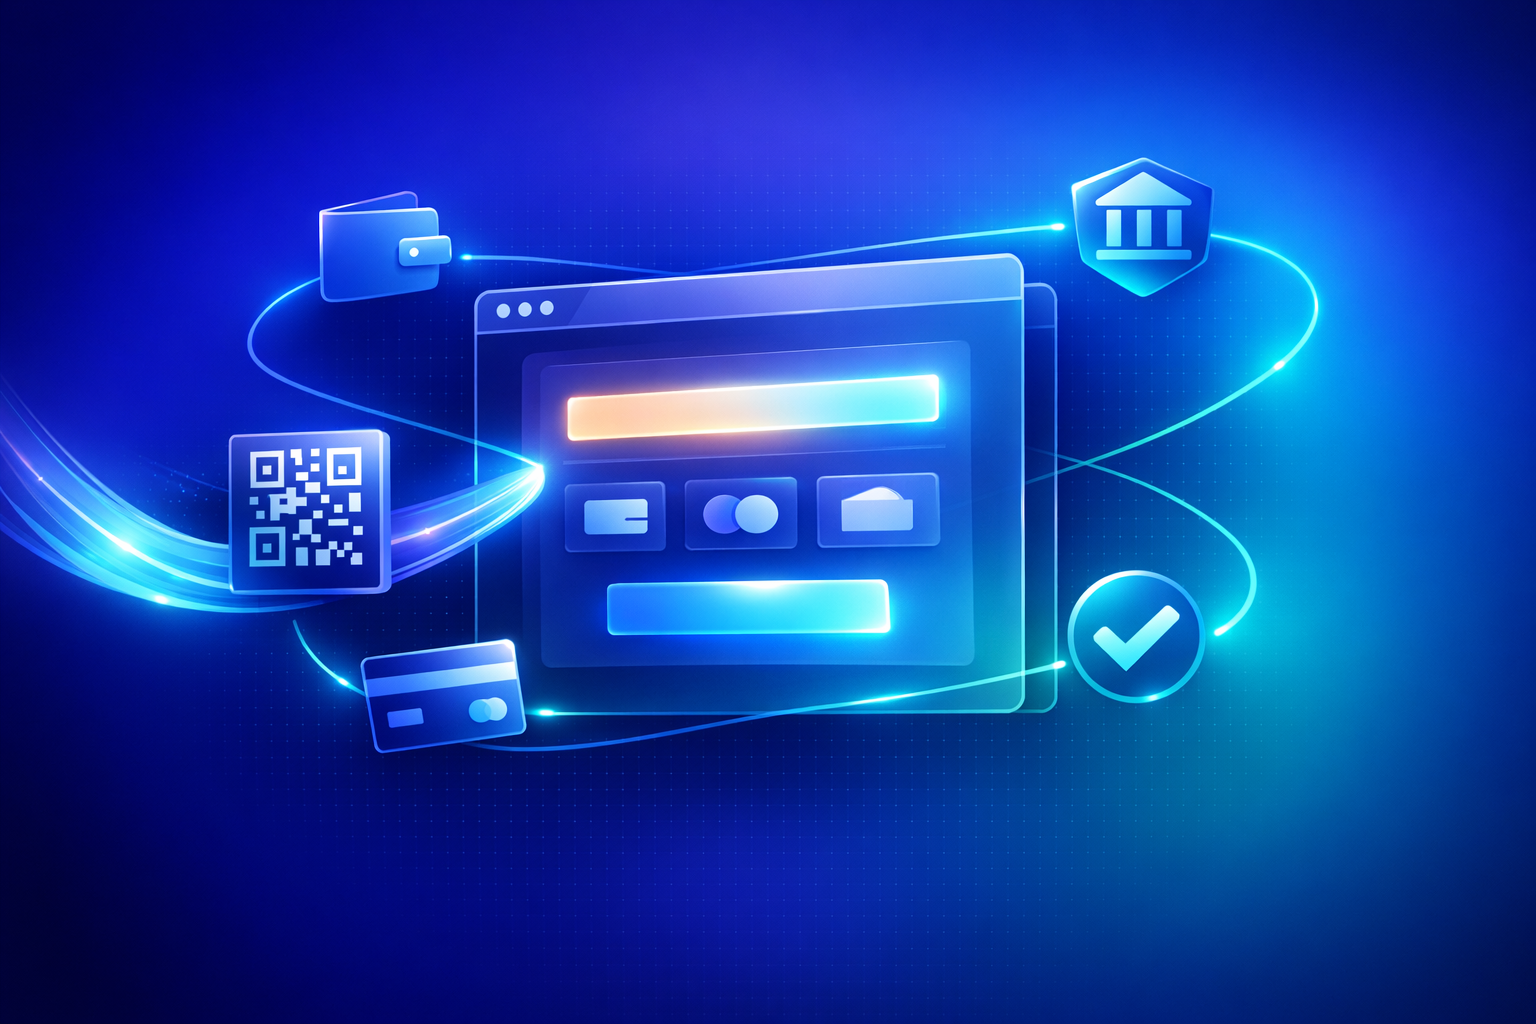
A payment page is a hosted checkout page where a customer completes a payment. It usually includes the business name, logo, amount, description, accepted payment methods, and a pay button. The customer reaches it through a payment link, invoice button, QR code, email, SMS, WhatsApp message, or website button.
The difference between a payment page and a normal website page is intent. A website page explains. A payment page closes the transaction. Every element on the page should help the customer confirm the payment and complete it securely.
What a Payment Page Should Include
A strong payment page does not need to be long, but it does need to be complete. At minimum, include these elements:
- Business name and logo so the customer knows who they are paying
- Clear title, such as "Website design deposit" or "Invoice #1042"
- Amount and currency shown before the customer chooses a payment method
- Short description of the product, service, booking, donation, or invoice
- Payment methods that match your customers, such as cards, PayPal, iDEAL, SEPA, Apple Pay, Google Pay, or crypto
- Security signals, including HTTPS, trusted payment providers, and recognizable checkout branding
- Contact or support details in case the customer has a question before paying
- Refund, delivery, booking, or deposit context when relevant
- A clear pay button with no competing primary action
The page should make the transaction obvious. If a customer has to message you to ask what the payment is for, the payment page is not clear enough.
Step 1: Choose the Type of Payment Page
Start by matching the payment page to the job it needs to do. A freelancer collecting a deposit needs a different page from a creator selling a downloadable file or a landlord collecting a reservation fee.
Common payment page types include:
- Fixed amount page for a single known price
- Open amount page for tips, donations, or pay-what-you-want payments
- Invoice payment page for formal client billing
- Deposit payment page for reservations, bookings, rentals, and project work
- Product payment page for a digital download, service package, or physical item
- Subscription payment page for recurring memberships or retainers
- Multi-option page where customers choose from several products, quantities, or amounts
If you are unsure, start with a fixed amount payment page. It is the simplest version: one price, one description, one pay button.
Step 2: Write the Payment Page Copy
Payment page copy should be specific, not clever. The customer is already close to paying, so the goal is confirmation, not persuasion.
Use a title that names the transaction directly:
- "Logo design deposit - 50%"
- "Invoice #2026-018"
- "July coaching session"
- "Security deposit for apartment booking"
- "Download: Lightroom preset pack"
Then add one or two sentences that explain what happens after payment. For example: "After payment, your booking is reserved and you will receive a confirmation email." For digital products: "The download link unlocks immediately after payment."
Avoid vague labels like "Payment", "Order", or "Services". They create doubt, especially if the customer opens the page later from a reminder email.
Step 3: Add Branding and Trust
A payment page does not need a full website design, but it should clearly feel like your business. Add your logo, business name, brand color, and a short descriptor if the customer may not recognize the legal entity behind the payment.
Trust matters most when the customer is paying from a phone, from a link, or for the first time. A generic page with no branding can look like a phishing attempt. A branded payment page helps the customer connect the page to the conversation, invoice, or product they already saw.
Good trust signals include:
- Your logo and business name above the payment details
- A clean URL or recognizable hosted domain
- The same payment amount shown in your invoice, message, or proposal
- A short support email or contact option
- Recognizable payment methods and provider names
- No surprise fees at the final step
Step 4: Offer the Right Payment Methods
The best payment method is the one your customer is ready to use. For local customers, that might be iDEAL, Bancontact, SEPA, or bank transfer. For international customers, it might be card, PayPal, Apple Pay, Google Pay, or crypto. For B2B invoices, bank transfer may be more comfortable than card.
A good payment page lets customers choose without forcing you to create separate checkout flows. With PayRequest, the same payment page can route payments through providers like Stripe, Mollie, PayPal, and crypto options depending on what you enable.
Do not overload the page with every method if it adds noise, but do cover the obvious preferences for your audience. A Dutch customer expects iDEAL. A PayPal-heavy audience expects PayPal. A mobile customer expects wallet payments to work without typing card details.
Step 5: Make the Mobile Experience Fast
Most payment pages are opened from email, SMS, WhatsApp, Instagram, or QR codes. That means the mobile version is not secondary; it is usually the main version.
Mobile payment page rules are straightforward:
- Keep the amount visible before the pay button
- Use short titles that do not wrap awkwardly
- Avoid long explanations above checkout
- Put payment methods where they can be tapped easily
- Make form fields large enough for thumbs
- Keep the page fast, with no heavy scripts or distracting popups
- Test the full flow on an actual phone before sending it to customers
A payment page can have detailed context, but the first screen should still answer the essentials immediately: who, what, how much, and how to pay.
Step 6: Publish and Share the Payment Page
Once the payment page is ready, publish it and share the link wherever the customer already is. You do not need a full website to use a payment page.
Useful sharing channels include:
- Email invoices and payment reminders
- SMS or WhatsApp messages
- QR codes on printed invoices, signs, menus, or event desks
- Instagram, TikTok, LinkedIn, or X profiles
- Client portals and booking confirmations
- Website buttons or landing pages
- PDF proposals and contracts
If you use PayRequest, you can create a Payment Request for a specific customer, reuse a general Payment Page, or publish a payrequest.me page as a permanent payment destination.
Payment Page vs Payment Link
People often use these terms together, but they are not identical.
| Term | Meaning | Example |
|---|---|---|
| Payment link | The URL you send to the customer | A link in an email or WhatsApp message |
| Payment page | The checkout screen the customer sees after opening the link | A branded page with amount, description, and payment methods |
| Payment request | A specific request for someone to pay a certain amount | A client deposit request or invoice reminder |
| Invoice payment page | A payment page attached to an invoice | Invoice #1042 with line items and due date |
The payment link gets the customer there. The payment page gets the customer paid.
Payment Page Checklist
Before sharing a payment page, check these items:
- The page title explains exactly what the customer is paying for
- The amount and currency are correct
- Your logo and business name are visible
- At least one payment method matches the customer's preference
- The page works on mobile
- The confirmation email or receipt is clear
- Any delivery, booking, refund, or deposit terms are easy to understand
- The link opens without requiring the customer to create an account
- The payment succeeds in a test transaction or preview flow
This checklist catches most avoidable payment page problems before they become unpaid invoices or confused customer messages.
Common Payment Page Mistakes
The most common mistake is treating the payment page like a generic form. Generic pages create hesitation. Customers should not need to infer why they are paying or whether the page belongs to you.
Avoid these issues:
- Using a vague title like "Payment" or "Checkout"
- Sending a page with no logo or recognizable business name
- Hiding the amount until late in the checkout
- Offering only one payment method when customers expect alternatives
- Making the page too text-heavy on mobile
- Adding extra navigation that distracts from payment
- Forgetting to explain what happens after payment
- Sending the same open amount page for transactions that should have a fixed amount
A payment page should reduce uncertainty. Anything that adds uncertainty lowers completion.
How to Build a Payment Page with PayRequest
With PayRequest, you can build a hosted payment page without code:
- Create your PayRequest account
- Open the Payment Page or Payment Links flow
- Add your business name, logo, and brand color
- Enter the amount, currency, title, and description
- Choose the payment methods you want to accept
- Add customer, invoice, product, or deposit details if needed
- Publish the page and copy the payment link
- Send it by email, SMS, WhatsApp, QR code, or your website
The result is a payment page you can use immediately, whether you are collecting a one-time payment, requesting a deposit, selling a product, or sending an invoice.
Frequently Asked Questions
A payment page is a hosted checkout page where a customer can review what they are paying for, choose a payment method, and complete payment securely. It can be used for invoices, deposits, products, donations, bookings, and one-off payment requests.
Use a hosted payment page builder like PayRequest. Add your business name, logo, amount, description, and accepted payment methods, then publish the page and share the link with customers.
A strong payment page should include your brand name, logo, a clear payment description, the amount due, accepted payment methods, security signals, contact details, refund or delivery context, and a simple pay button.
No. A hosted payment page works as its own shareable URL, so you can send it by email, SMS, WhatsApp, invoice, QR code, or social profile without building a website first.
A payment link is the URL you share. The payment page is the actual checkout experience the customer sees after opening that link, including the amount, description, branding, and payment methods.
Bottom Line
A good payment page is not just a place to enter card details. It is the final trust step before money moves. Make the page clear, branded, mobile-friendly, and specific about what the customer is paying for.
Build your payment page with PayRequest, or start with a reusable payrequest.me page if you want one link customers can use again and again.